In photoshop, the first and the chief thing that an individual needs to do is making another record. Any remaining capacities can be performed just whenever you’ve made a record. There are a few manners by which you can make another report in Photoshop.
In this article, we will share three unique manners by which you can make another archive in Photoshop. Thus, how about we examine those techniques that can assist you with making another archive as follows:
1. How to Open a Document Using the Menu Bar?
In case you’re now having a few pictures which you need to alter in Photoshop, here we have given a guide on how you can do it rapidly:
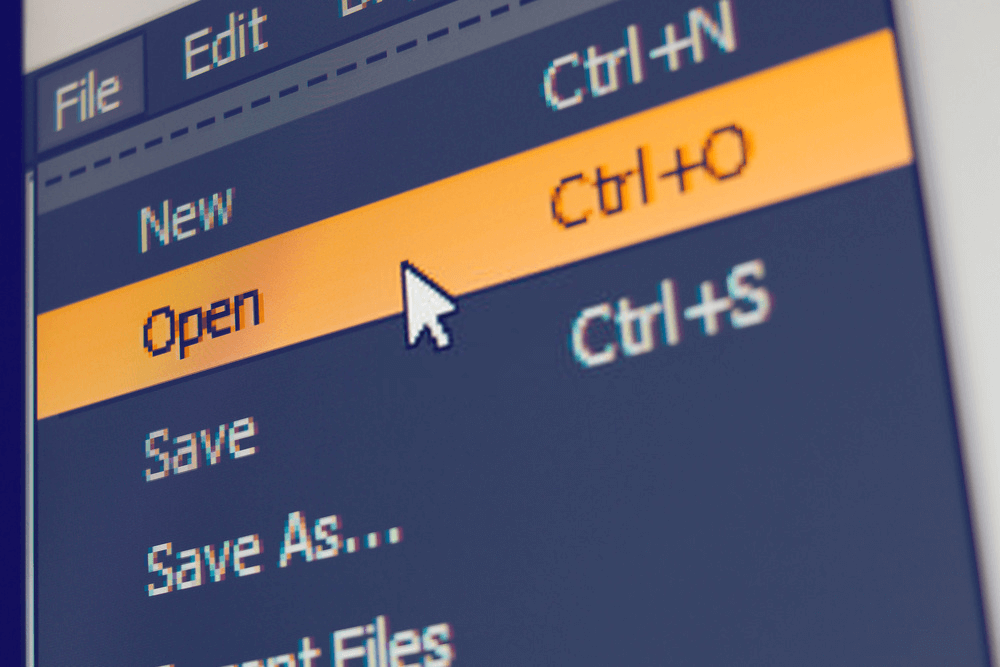
- Explore to the File alternative situated at the top menu bar.
- Snap on it.
- Find and tap on “Open” from the accessible alternatives.
- You can likewise utilize the Ctrl+O to open another record in Photoshop.
- Presently, you’ll see your records and organizers.
- Explore to the envelope where you’ve saved the pictures that you wanna open in Photoshop.
- Whenever you’ve discovered it, tap on the picture to choose it.
- Tap on the Open catch.
2. How to Create a New Document from the Home Screen?
Did you just arrived on the Home Screen and you need to make an archive straightforwardly from that point? On the off chance that indeed, here are the means which you can follow to do likewise:
- Tap on the Create New catch that you can discover in the left menubar.
- This will divert you to the New record exchange box.
- Naturally, the new thumbnail is chosen.
- You can either continue with the chose one or move further to choose another thumbnail.
- On the off chance that you need to utilize a custom archive size, tap on the record type you need to make.
- You can either choose Photo, Print, Arts and representations, and so forth
- Every one of these alternatives can be found in the top bar.
- Whenever you’ve chosen report type, various thumbnails will begin showing up on your screen.
- You’ll see a couple presets from the outset.
- Tap on the ViewAll Presets catch to see the accessible presets.
- Tap on any of the preset which suits your necessities.
- On the correct side, you’ll see the goal settings.
- Set the Resolution to 300 pixels/inch for better quality.
- Snap OK to apply the changes.
3. How One Can Use the Custom Settings Available in Photoshop?
Photoshop shows up with a plenty of archive settings that you can practice on the off chance that you need to make a record with custom settings. Here are the distinctive custom settings accessible which you can exercise to make a custom record:
1. Tallness and Width
Naturally, you’ll discover distinctive tallness and width settings for various presets. To change the default esteems, you can type various qualities in the estimation boxes to explore different avenues regarding what turns out best for you.
2. Foundation Color
Assuming you need to set a foundation tone for your picture, you can practice the Background substance choice for it. There are various shadings accessible and you can choose the one which appears great to you.
3. Shading Modes and Bit Depth
There are distinctive shading modes and Bith Depth alternatives accessible in Photoshop. Under the Color modes and Bit Depth segment, you can set a shading mode alongside the piece profundity for your record.
4. How to Save the Custom Settings as a New Preset?
- Right off the bat, fill in the favored custom settings that you need.
- At that point, tap on the save symbol situated at the upper right corner.
- Presently, give your preset a name and tap on the Save Preset catch.
- You can track down your saved presets under the saved class.
- To erase a saved preset, you should simply tap on the garbage can symbol situated at the correct corner.